Home » Support & Infrastructure » Site-Licensed Software » Statistical Software » SAS » SAS Installation Instructions
Obtaining and Installing SAS
View SAS Installation Instructions
Renewing a SAS license? Click here for SAS renewal instructions.
System Requirements
| Can be Installed, Supported by SAS | ||||
| Can be Installed, Not Supported by SAS | ||||
| Cannot be Installed, Not Supported by SAS | ||||
| Major OS Version | OS Edition | SAS Version | ||
| 9.4 TS1M3+ | 9.4 TS1M7+ | |||
| Windows 10 | All Editions | |||
| Windows 11 | All Editions | |||
- System Memory (RAM)
- SAS 9.4: 2 GB memory
- How do I check?
- Hard Drive Space
- SAS 9.4: about 40 GB of disk space
- How do I check?
Obtaining the installation
Please note that SAS licenses expire each August.
If you are a Ph.D. student, working on your master’s thesis, or require SAS for other academic purposes, please have your advisor/instructor/professor email bumchelp@bu.edu. They should include your full name, BU username, and the reason why you require SAS for your work.
Faculty/Staff members
BU: Click to see how to request a SAS license*
BMC: Click to see how to request a SAS license*
If your request has been processed or you already have a license for SAS, the following link will give you access to the installer files: Download SAS for Faculty/Staff
SAS 9.4 Installation Instructions
Step 1: Verify that your computer meets the system requirements. As of 8/31/2015, BU’s SAS 9.4 supports 32-bit computers. Most users should choose SAS Foundation (32-bit) at Step 10. If you are using large data sets, SAS Foundation (64-bit) is a better choice.
Step 2: To download SAS, go to either the Student or Faculty/Staff download page. Read the SAS license agreement and click “I Agree” at the bottom, you will then be taken to a BU Web Login page. Enter your BU username and password and press “Log In”. If you get an error message or have trouble downloading, see our troubleshooting tips below.
Step 3: Download the appropriate SAS version from the website. If you are reading this guide to download SAS, you probably only need the Lite version. Click the specified ZIP file link and save it to a location on your computer you will remember. The ZIP files can be very large and it is recommended to download while on campus.
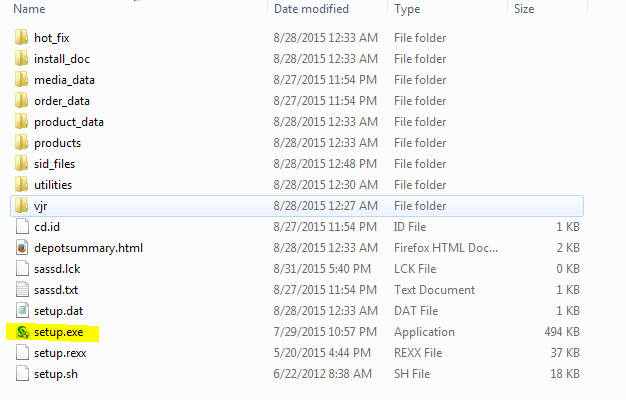
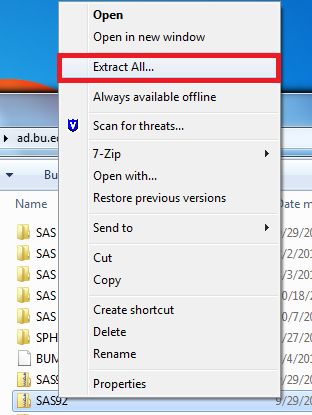
Step 4: Once the download completes, browse to the folder you downloaded it to. Then right click on the SAS zip file (“SAS.9.4.YEAR.Lite.zip”) and select “Extract All”. Choose a location to unzip the file (Desktop recommended) and then press “Extract”. Wait for the files to extract, this can take 10-20+ minutes. Once the files finish extracting the folder should open and there will be a folder named “SAS.9.4.YEAR”. Double click the folder.
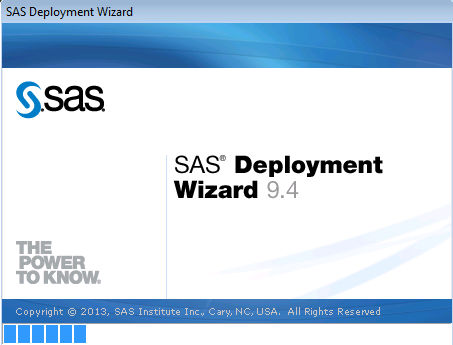
Step 5: Double click on setup.exe. A SAS Deployment Wizard 9.4 box should appear and a bar will go across.
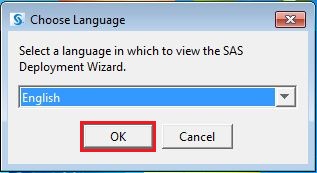
Step 6: The language box should appear, select your language then click “OK”
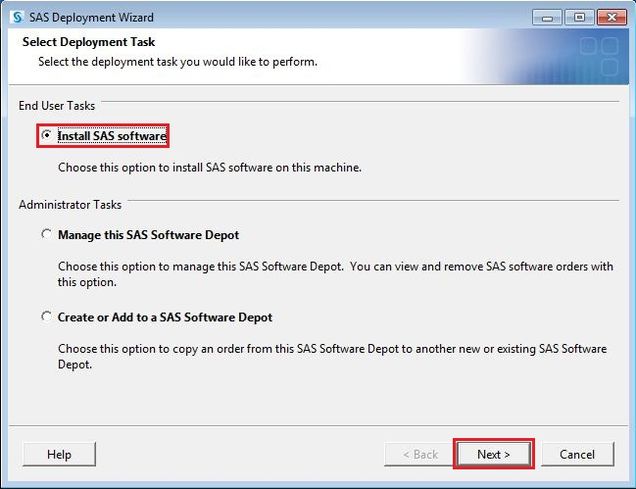
Step 7: Make sure “Install SAS software” is checked then Click “Next”
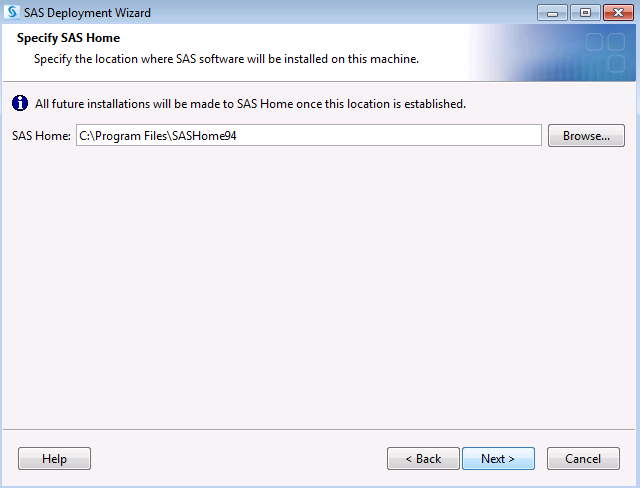
Step 8: Here you select the location to install SAS. Unless you already have another version of SAS on your computer, you can keep the default location for installation. Click “Next”.
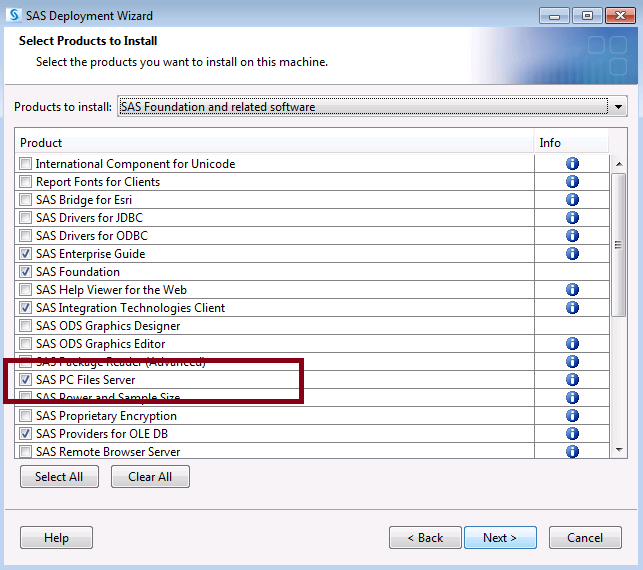
Step 9: Verify that SAS PC Files Server is checked off. You may need this to work with Excel and other Microsoft Office files. If you know you need other SAS products you can select them here. Otherwise, click “Next.”
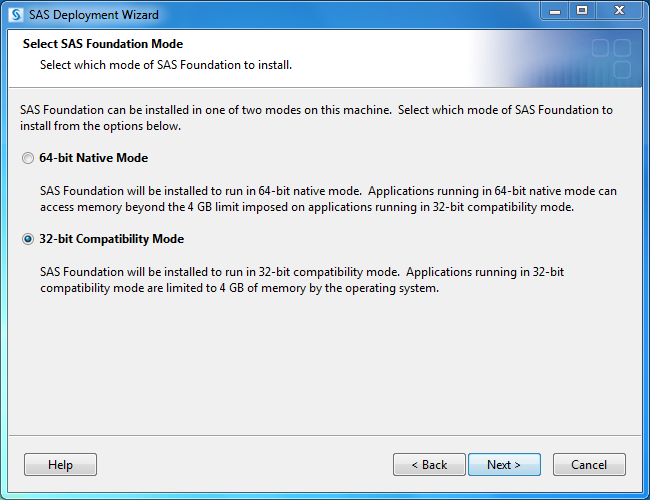
Step 10: Most SAS users should check “32-bit Compatibility Mode“, this should make importing data easier. Users who have large datasets will want to check “64-bit Native Mode” for increased performance. If you check 64-bit, you MUST select PC Files Server at the previous screen.
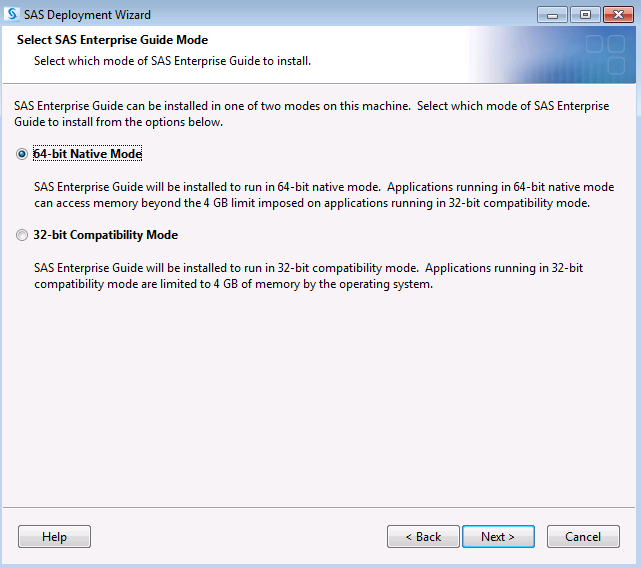
Step 11: You can leave this setting at 64-bit Native Mode (most people don’t use Enterprise Guide). Click “Next”.
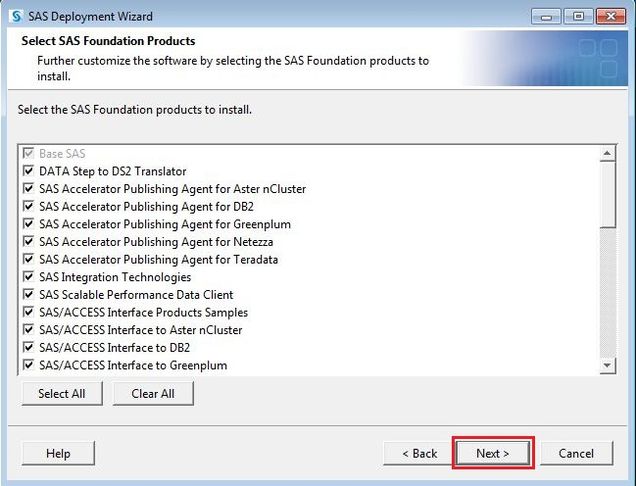
Step 12: Click “Next.” *Note: By default all SAS Foundation products are selected, but many of them you may not need. If you know what SAS products you are looking to install, you can selectively choose what you want. Or you can click “Clear All”, and only install Base SAS, which can speed up the install.
Step 13: Verify that the date is in the future then Click “Next”, if it is not, contact BUMC-IT (617-638-5914)
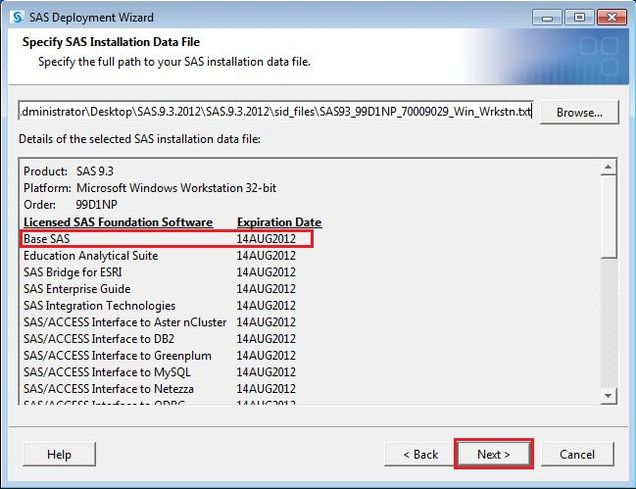
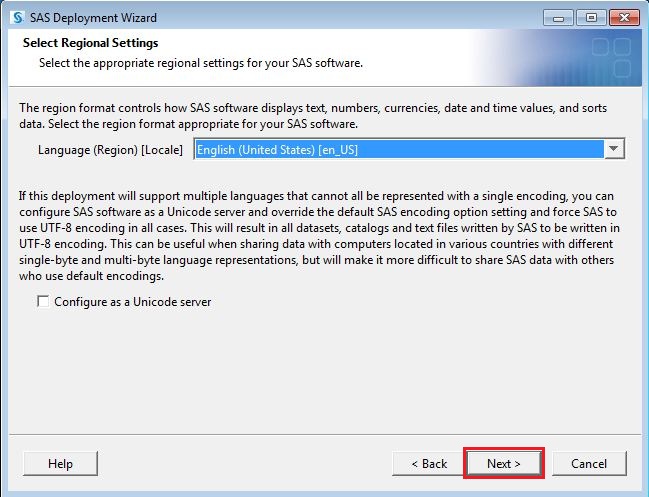
Step 14: Click “Next”
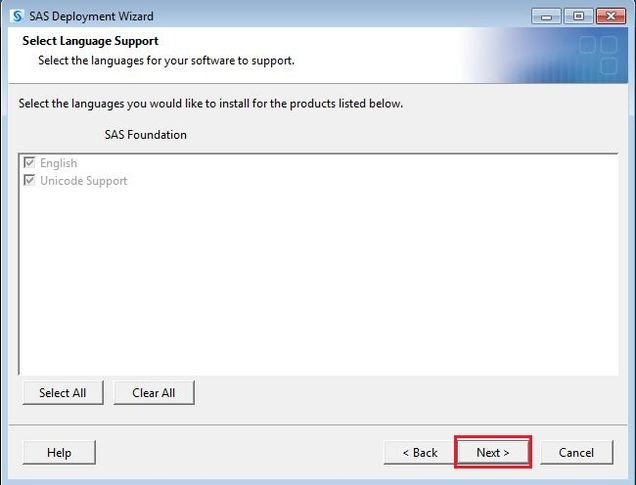
Step 15: Click “Next”.
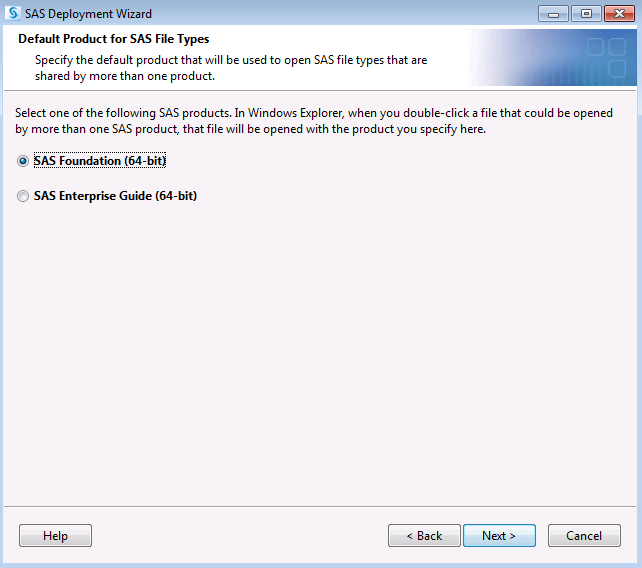
Step 16: Choosing SAS Foundation as the default file-type is recommended. Click “Next”.
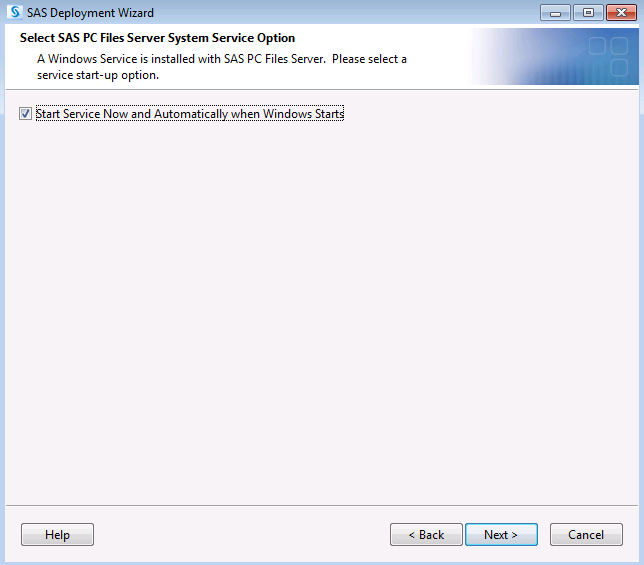
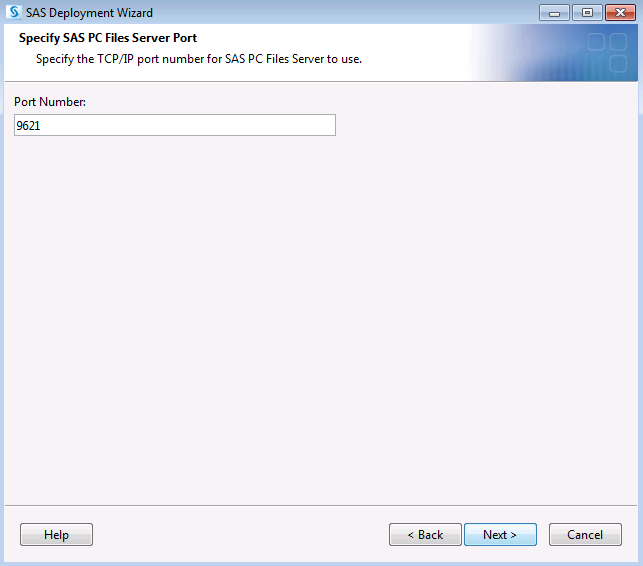
Step 17: The next two windows can be left as default for the PC Files Server. Click “Next”.
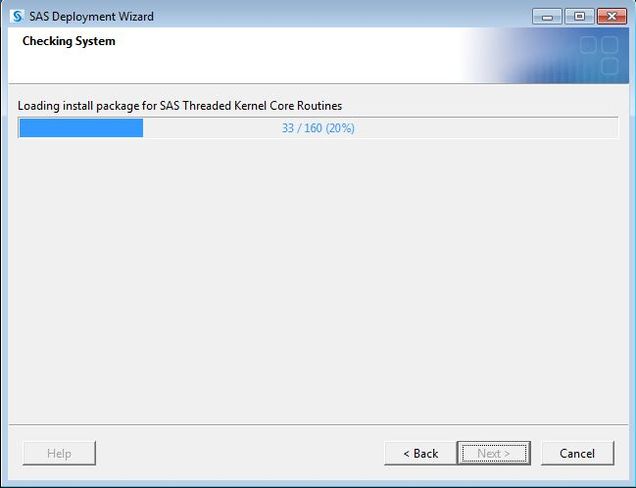
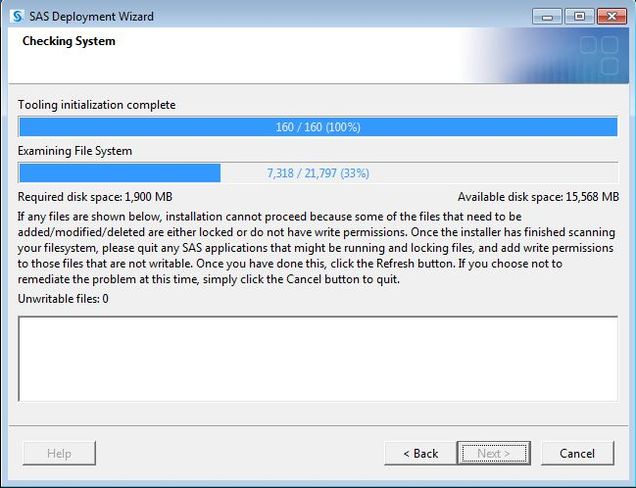
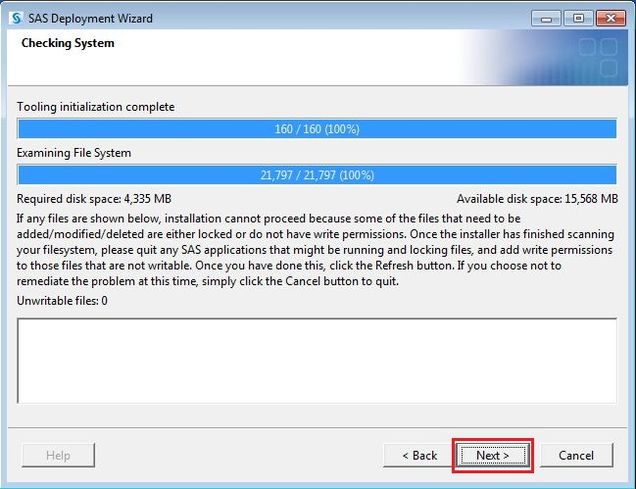
Step 18: SAS will check your system to see if it will fit, this step will take a minute or two to complete
Note: you may get a box popup that says the system requires a reboot. The box will have three spaces “Domain”, “Username”, “Password”, if the computer is your personally-owned device, you will enter “.” as the domain then the name of your account and your password. If the computer is a BU computer you will enter “ad.bu.edu” as the domain then your BU username and password (Kerberos).
Step 19: Click “Next”
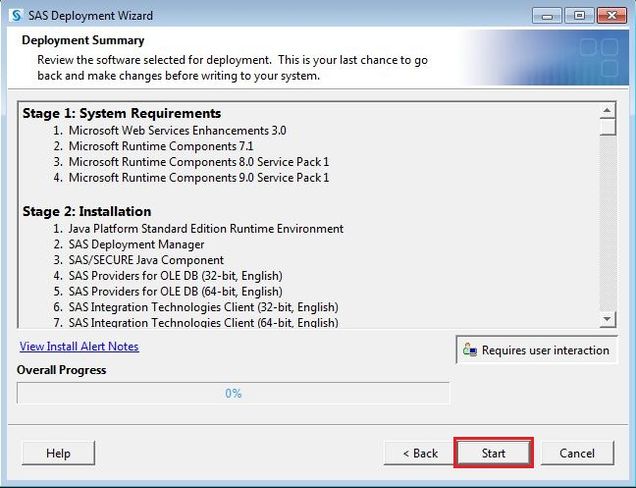
Step 20: Press “Start” to begin the installation, if you didn’t uncheck any of the products in Step 11 there are 100-200 items and up to 4 system requirements (you may have less) and can take 30-60 minutes to complete.
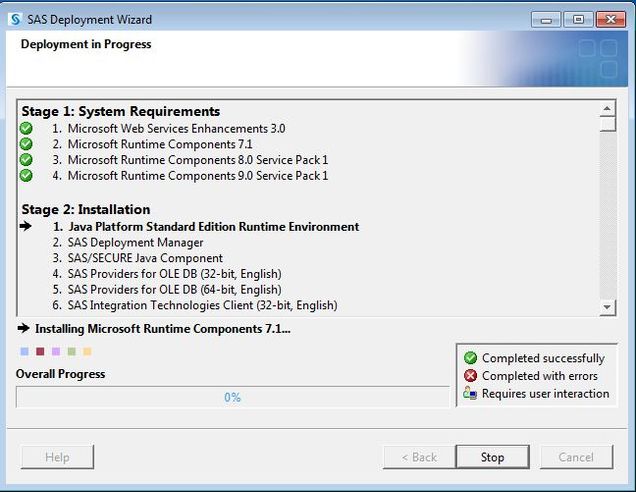
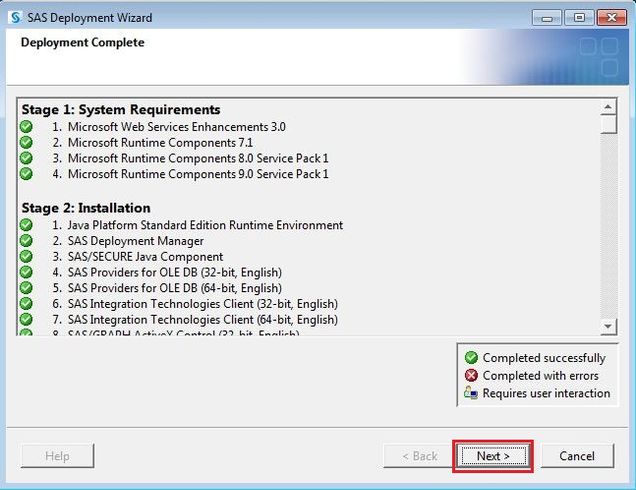
Step 21: When installation completes, click “Next”
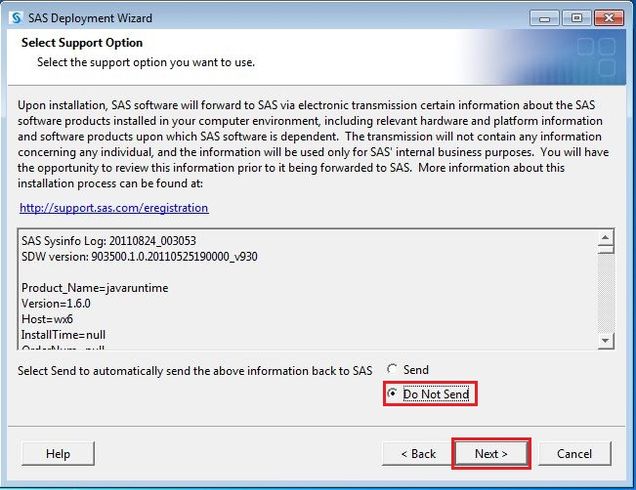
Step 22: Click “Do Not Send” then “Next”
Step 23: Click “Finish”
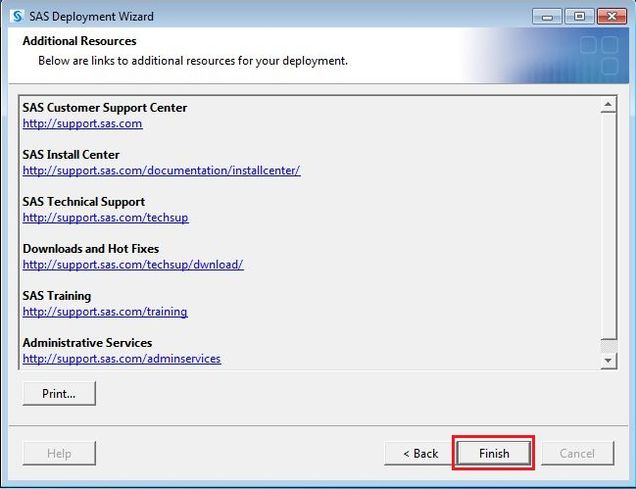
Congratulations! You have now installed SAS on your computer.
Troubleshooting Tips
- If you get the following error message contact the BUMC IT Service Desk
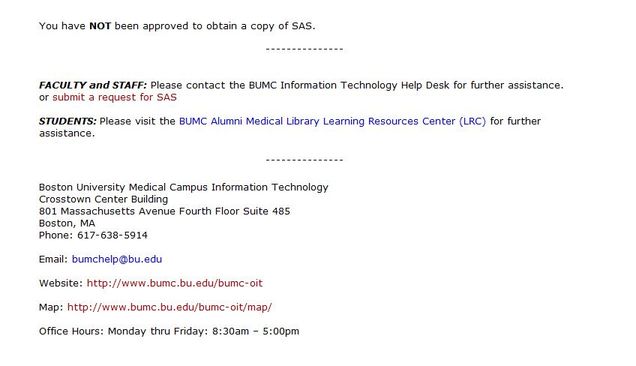
- Be patient – SAS is a very large program and can take a long time to download and install
- If download stalls try using a wired network connection or downloading while on campus
- Reboot the computer
- Verify that your installation of Windows is up to date by checking for available Windows Updates
- Verify that your computer meets the system requirements
- Ensure that you have followed the instructions listed above
- Disable any running antivirus programs or stop any active virus scans (but remember to turn it back on afterwards)
- Contact Alumni Medical Library (617-638-5433) or BUMC IT Service Desk at 617-638-5914, M-F 8:30 AM – 5 PM

