
Install a Network Printer
To connect to a network printer, follow the instructions that correspond with your operating system.
Installing a Network Printer with Windows 10 & 11
If your Computer is a BU Computer or on the BU domain.
- Connect to the BU network via wired, wireless, or VPN network.
- Open the start menu and type \\bumc-print in the white search box that says Search programs and files and press enter.
- In the top right corner, you will see a search box that says “Search bumc-print.” Type in the 6 digit BUMC IT Asset# of the printer you wish to add. (image)
- Double click on the printer to install the driver.
- Repeat this steps to install additional printers
If your Computer is a Personal computer or not on the BU domain.
- Connect to the BU network via wired, wireless, or VPN network.
- Open the start menu and search for Printers & scanners.
- On the top of the Printers & scanners window, select Add a printer or scanner.
- Wait a few moments, and then click The printer than I want isn’t listed in blue. If you don’t see it, scroll down on the page until it shows.
- Select Add a printer using a IP address or hostname
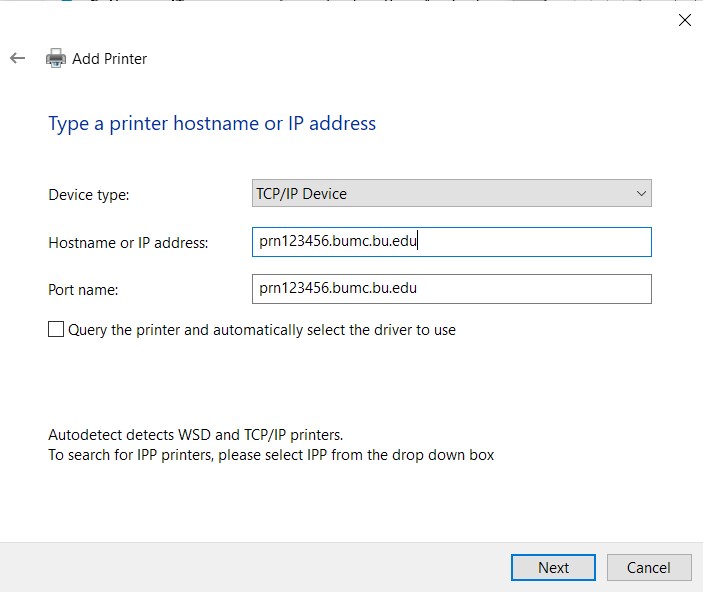
- Change the device type to TCP/IP device.
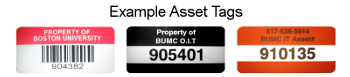
- Look on the printer and locate the 6 digit BUMC IT Asset # of the printer you wish to add. (image)
- For the Hostname or IP address, enter the printer name in the format shown in the image: prn9xxxxx.bumc.bu.edu, where 9xxxxx represents your printer’s BUMC IT Asset #, located on the red or black or orange BUMC sticker on the printer.
- There are 2 options below, a Fast option, and a Slow option. If you don’t need double-sided or color printing, try the Fast one for quick printing. Slow will take longer to setup but provide full functionality.
- Fast:
- Make sure this is not checked: Query the printer and automatically select the driver to use and then click the Next button. (image)
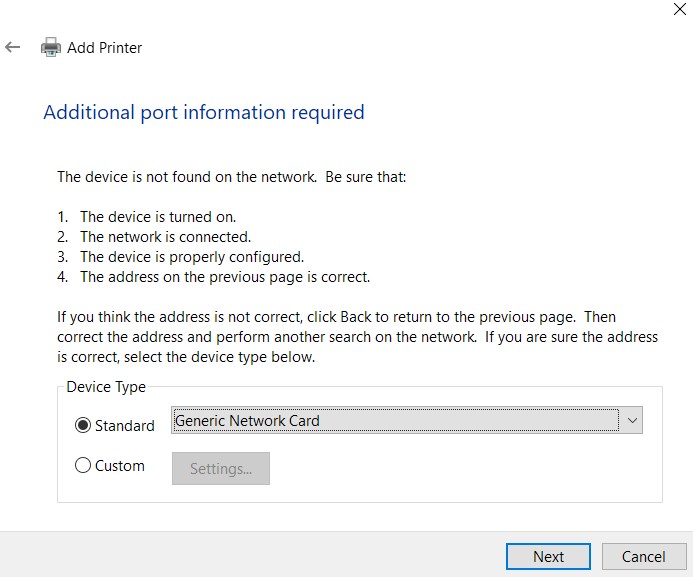
- At the “Additional port information required” screen, click Next. (image)
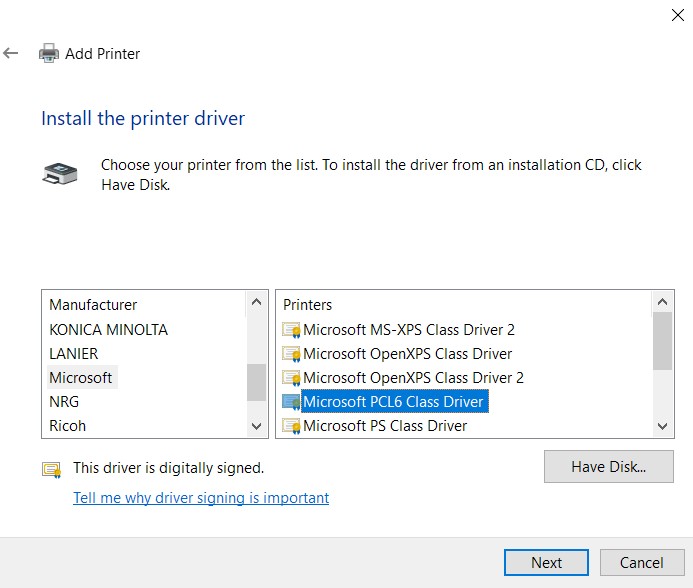
- At the “Install the printer driver” screen, select Microsoft on the left-hand side under manufacturer and Microsoft PCL6 Class Driver on right-hand side under Printers, then click Next. (image)
- That should work for most printers, otherwise you may need to find a more correct driver online or from the list. Contact BUMC IT for assistance if needed.
- At the “Printer Sharing” screen, click Do not share this printer then click Next.
- At the following screen you can press the Print a test page button to verify it works. If it does not print a normal test page, either find a more correct driver online in the above step 4, or follow the Slow instructions below.
- Slow:
- Make sure that this is checked: Query the printer and automatically select the driver to use and then click Next button.
- After a short time, the computer will hopefully find the correct print driver.
- If the computer cannot find the print driver, return to the Fast option above and start from Step 3, or call BUMC IT.
- Fast:
- The printer installation should begin. You will have the option to rename your printer after the installation is complete, enter the asset tag and any other identifying information that is helpful.
Installing a Network Printer on a Macintosh Computer
Connect to the Internet, and VPN (if necessary). Please visit the printer manufacturer’s website and download the OS X drivers for your specific printer model. Once you have the correct drivers, follow the steps below:
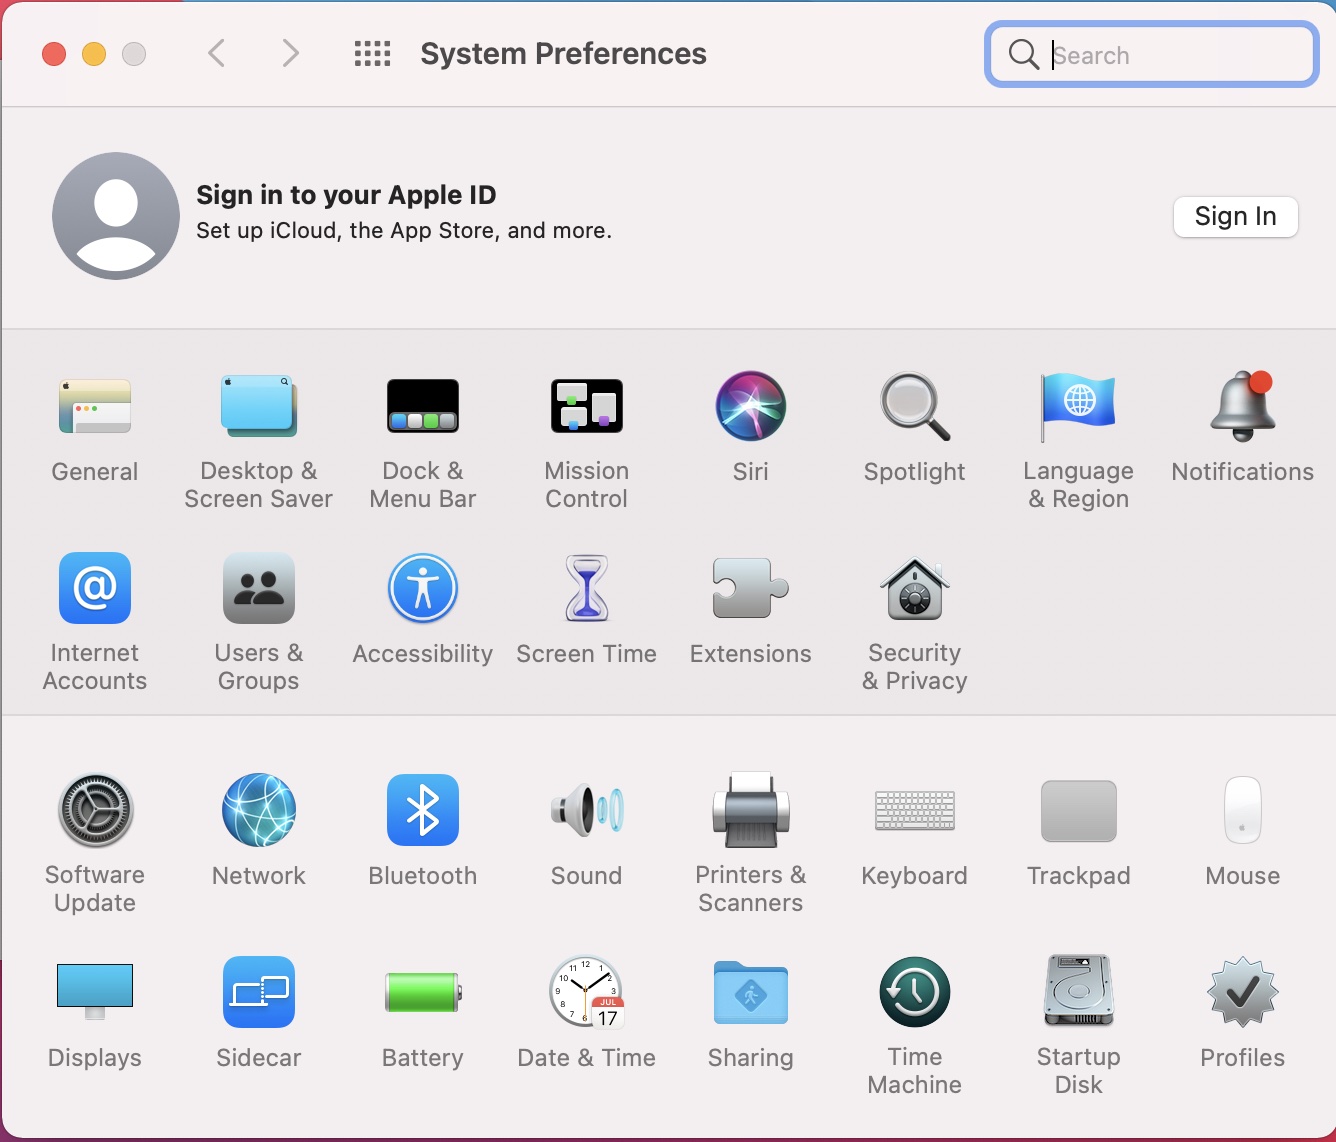
- Open System Preferences (one way is to click the Apple then System Preferences). If using macOS Ventura, it is called System Settings.
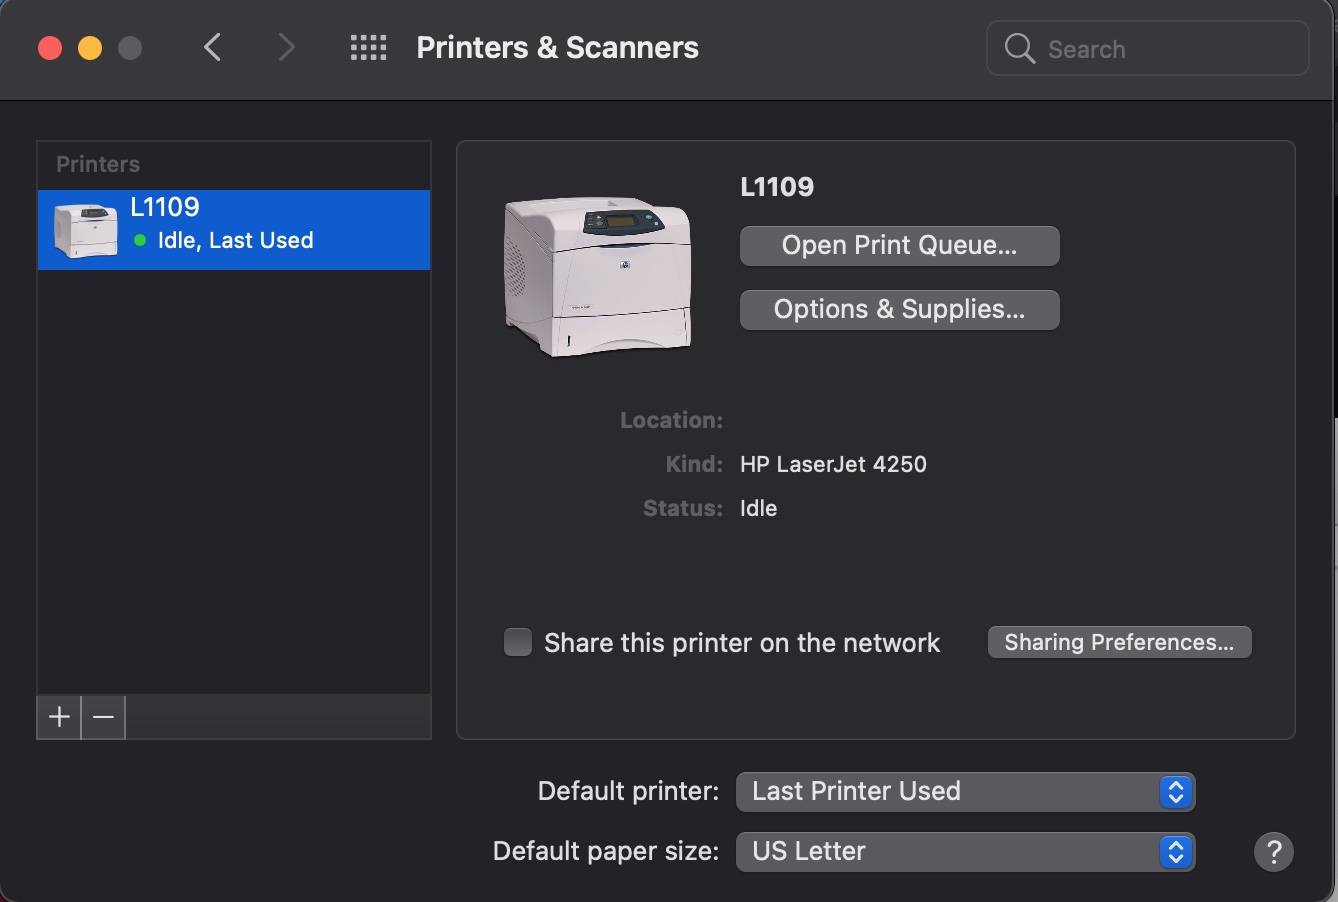
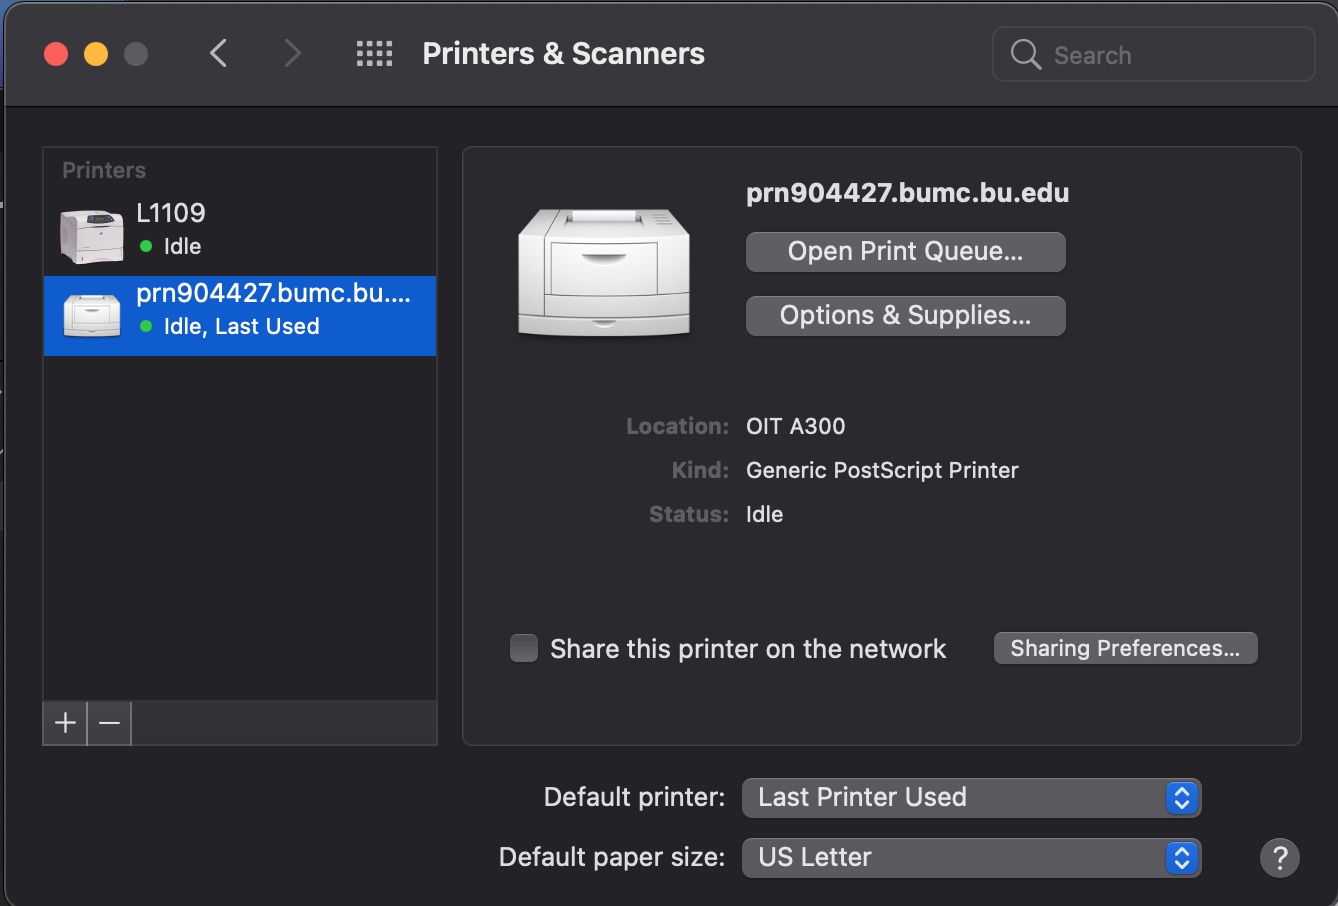
- Within System Preferences, select Printers & Scanners. (image)
- On the leftmost side of the screen, select the plus sign (+) beneath the list of installed printers (image)
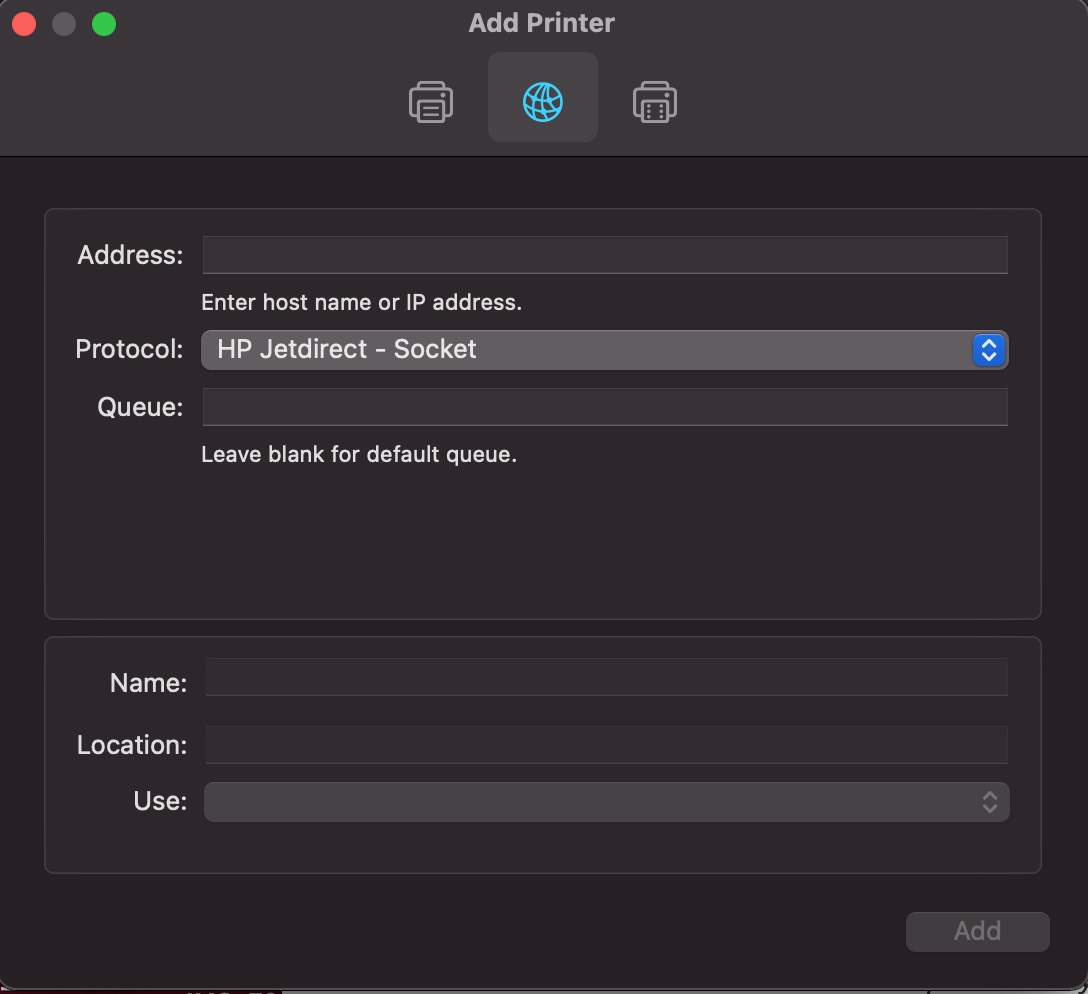
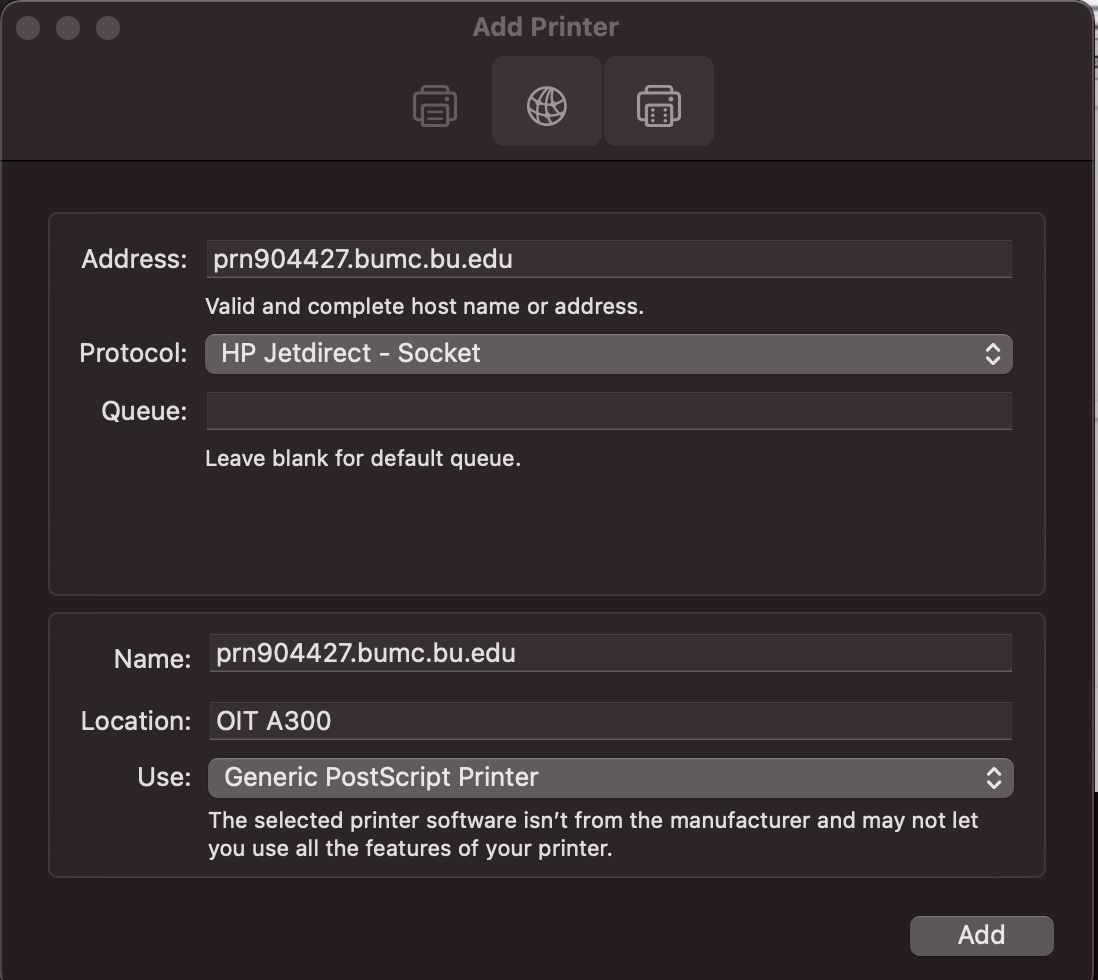
- Select IP (the globe) from the options at the top of the window. Under Protocol, try AirPrint. Select that one.
- If AirPrint is not listed (or it does not print), start over and Select Line Printer Deamon – LPD. (image)
- Under Address, enter the printer name in the format shown in the image: prn9xxxxx.bumc.bu.edu, where 9xxxxx represents your printer’s number, located on the orange BUMC sticker on the device.
- The bottom 3 fields Name/Location/Use. You may want to rename it to provide a useful description. If “Use” does not fill-in, you can try Generic PostScript Printer to enable basic printing features. You may need to download or select a specific software version to enable advanced features. (image)
- Click Add.
- You have successfully added the network printer! Your network printer will appear on the list of installed printers beneath any previously installed printers within the Print & Fax window. (image)


