
Home » Support & Infrastructure » Storage Options » BUMC Y Drive » Mapping the Y Drive
Mapping the Y Drive
Select your operating system to view step-by-step instructions on connecting to the Y drive.
Prerequisites:
- Connection to BU network via Wi-Fi, Ethernet, or VPN
- If someone is off campus, they must use Cisco Secure Client VPN with address vpn.bu.edu/2fa
- The bumcfiles folder only requires Kerberos credentials, but if you need specific department folders, your supervisor must submit an Account Request for you
Windows 11
- Open File Explorer by left clicking on the yellow folder icon in the task bar

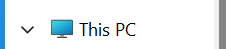
- Right click on This PC on the left sidebar
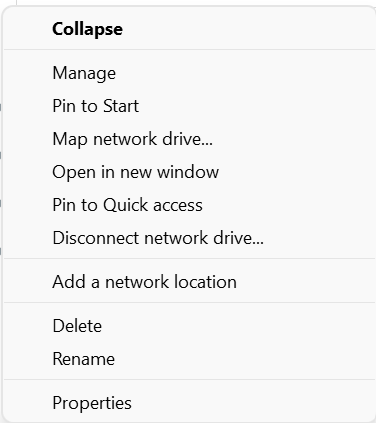
- Click Show more options

- Click Map network drive…
- Choose a drive letter from the Drive: drop down menu

- Enter “\\ad.bu.edu\bumcfiles\” in the Folder field OR you can enter the full path you are trying to map to.

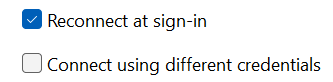
If you want the mapped drive to be present at the next sign-in, check “Reconnect at sign-in”
If you check “Connect using different credentials”, you will get a prompt asking for network credentials to sign in with (at BU, these usually mean your Kerberos username and password) and whether Windows should remember the credentials
- Click Finish
Back to Top
Windows 10
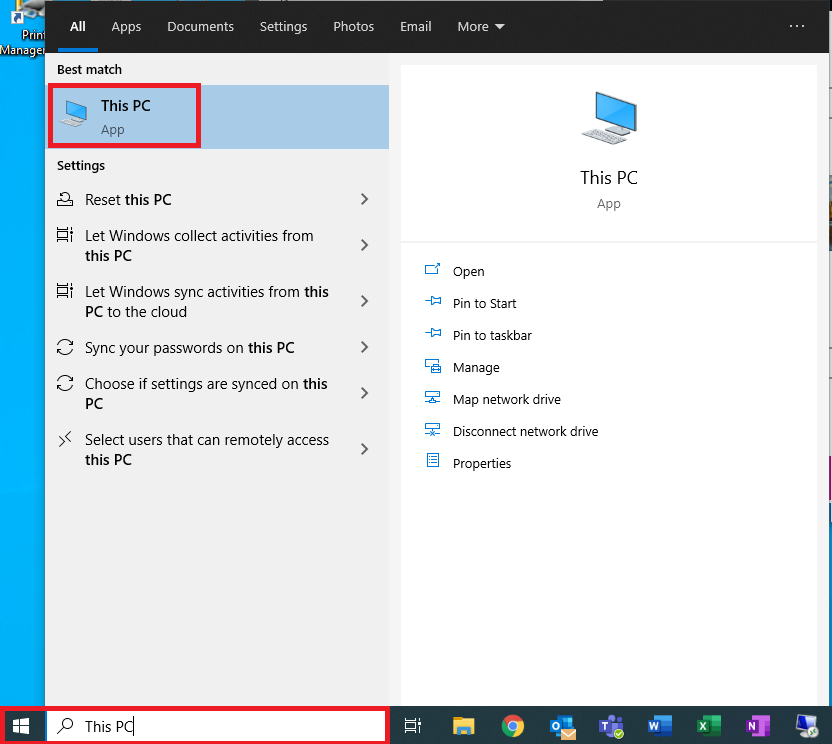
- On the desktop, at the bottom-left of your screen, click on the Windows Icon or Search Bar, and search for “This PC”. Click on it.

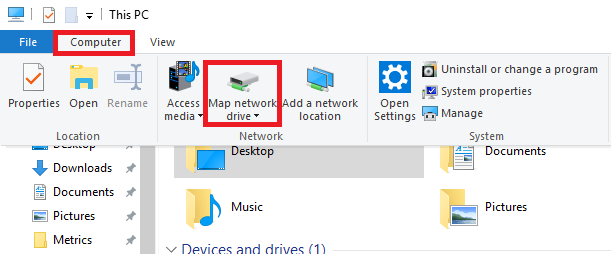
- Click the “Computer” tab on the top and then click “Map network drive”
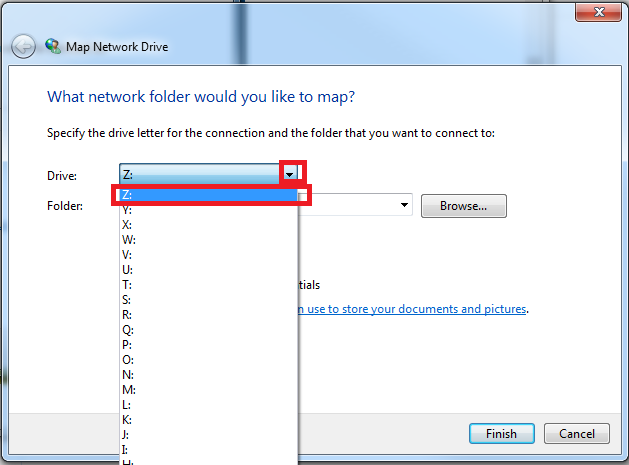
- Assign the drive any letter that is available (we prefer personal folders to use the letter Y:)
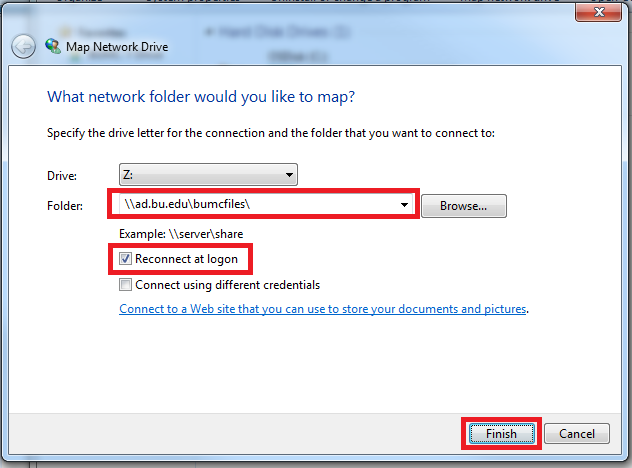
- Enter “\\ad.bu.edu\bumcfiles\” in the Folder field OR you can enter the full path to your desired location.”Reconnect at logon”should be checked ON.
Click “Finish”.
If you are already logged into a BU computer with your Kerberos credentials and are connected to the BU network, your drive should now be mapped.
Otherwise, continue to step 5.
- If you are not connected to a BU network, please follow the instructions on how to connect to BU’s 2FA VPN.
- If you are not logged into a BU computer with your Kerberos credentials, “Connecting using different credentials” should be checked ON.
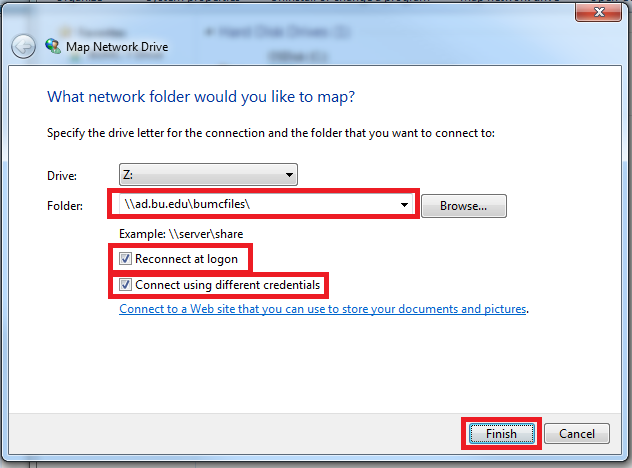
Click “Finish”Windows will prompt you to enter your BU credentials to access the server.
In that case, please enter your credentials as follows:username: AD\<your Kerberos username>
password: your Kerberos password”Remember by credentials” should be checked ON so that you don’t have to enter it every time you want to connect to it.Click “OK”
- Your drive should now be mapped!
Mac OS
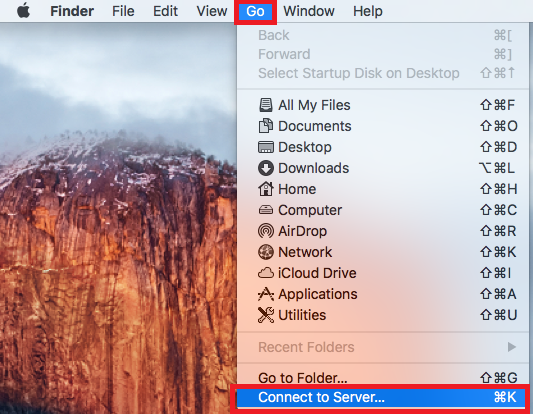
- At the top of the desktop window from the Finder, select Go> Connect to Server (Or use the keyboard shortcut Command +K)
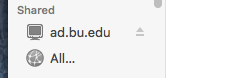
- Enter the Server Address of the network drive: smb://ad.bu.edu/bumcfiles
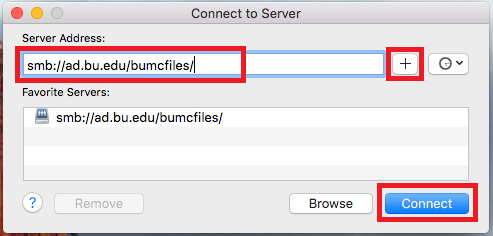
- Click the + to add the Server Address to your Favorite Servers. Click Connect.
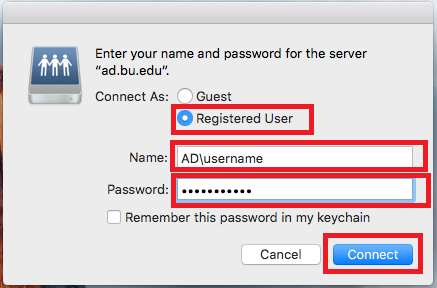
- An Authentication Window will open
- In the Authentication Window, select Registered User and enter your BU username and password with “ad” before your username (ad\username) and Kerberos password and click Connect (older Mac OS- click OK)
- The drive is now mounted.
 To create an “alias” (a shortcut) for the share:
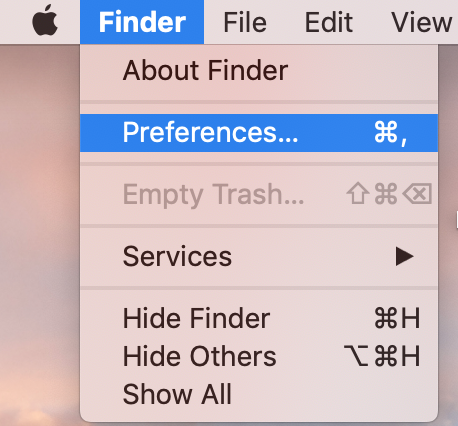
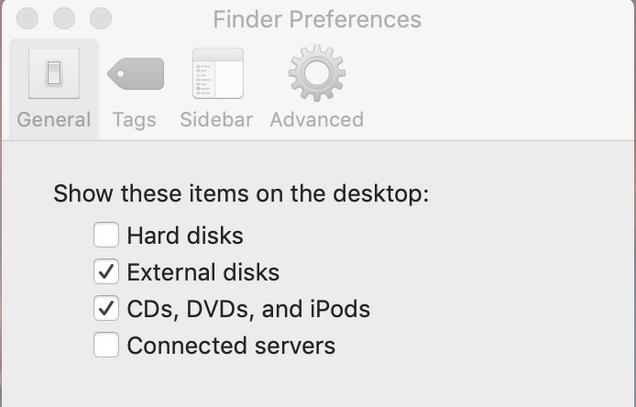
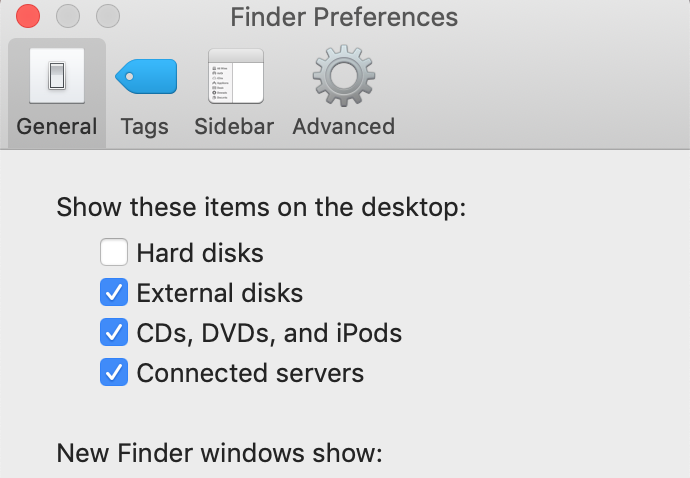
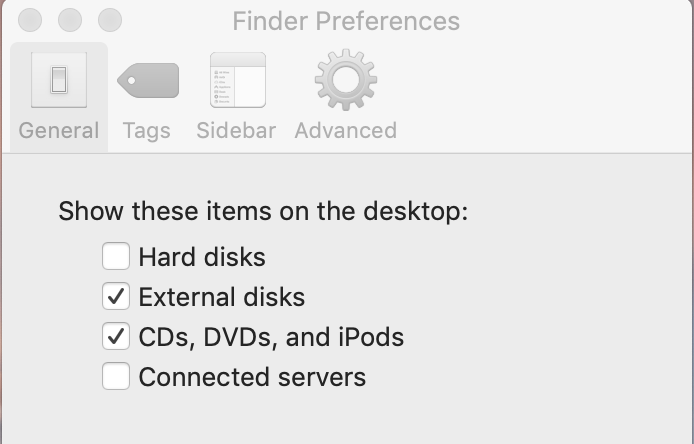
 - At the top of the desktop window, click on Finder and select Preferences… (Or use the keyboard shortcut Command +,)
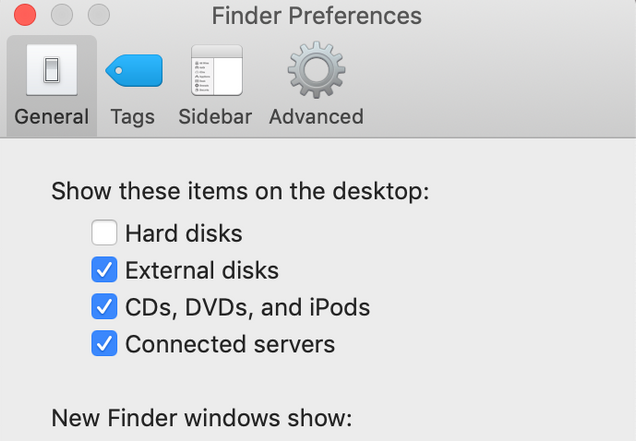
- From “Finder Preferences” click the checkbox next to “Connected servers”
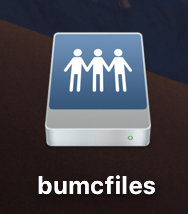
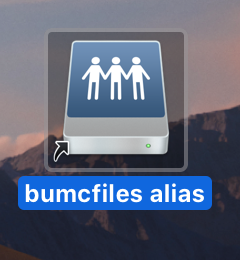
- You should see the file share(s) on your desktop (it looks like 3 people holding hands)
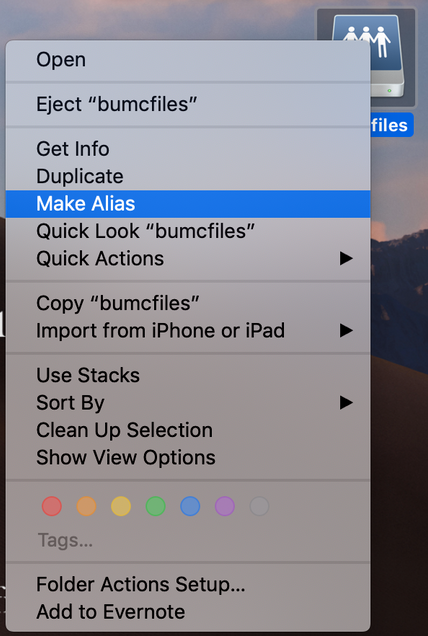
- Click with two fingers (or Ctrl +click) on the files share, and select “Make Alias”
- An icon should appear on the desktop called “share name” alias
- (Optional) Go back to “Finder Preferences” and remove the checkmark next to “Connected servers”
Back to Top

Windows 7/ Vista
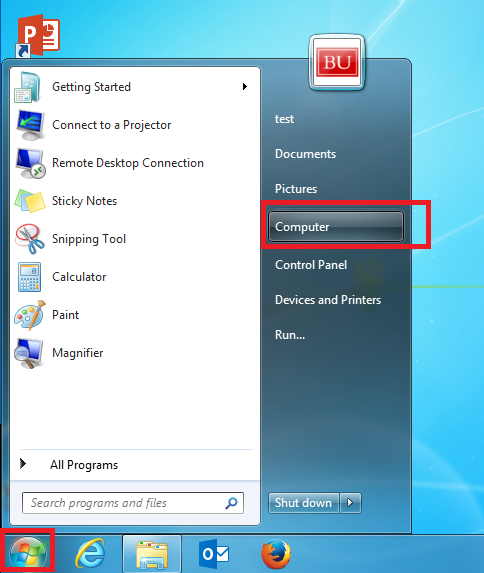
- Click the Start button, then click “Computer”
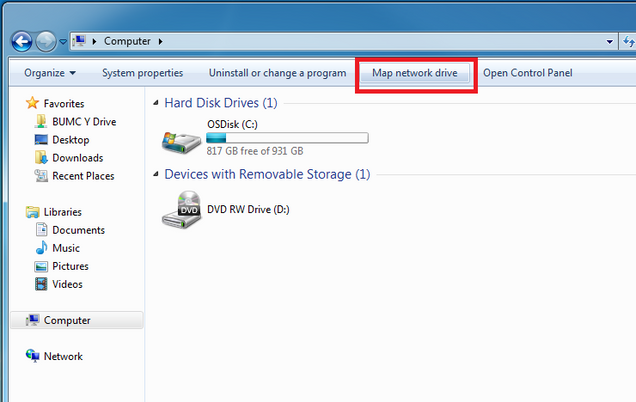
- Click “Map network drive”
- Assign the drive any letter that is available (we prefer personal folders to use the letter Y:)
- Enter “\\ad.bu.edu\bumcfiles\” in the Folder field OR you can enter the full path to your desired location.”Reconnect at logon”should be checked ON.
Click “Finish”.
If you are already logged into a BU computer with your Kerberos credentials and are connected to the BU network, your drive should now be mapped.
Otherwise, continue to step 5.
- If you are not connected to a BU network, please follow the instructions on how to connect to BU’s 2FA VPN.
- If you are not logged into a BU computer with your Kerberos credentials, “Connecting using different credentials” should be checked ON.
Click “Finish”Windows will prompt you to enter your BU credentials to access the server.
In that case, please enter your credentials as follows:username: AD\<your Kerberos username>
password: your Kerberos password“Remember by credentials” should be checked ON so that you don’t have to enter it every time you want to connect to it.Click “OK”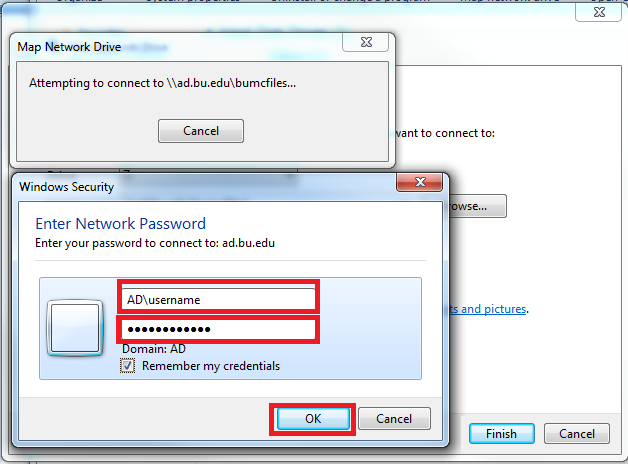
- Your drive should now be mapped!