
Telephone Services
Cisco Handsets:
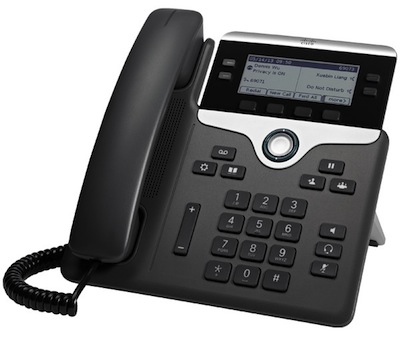
Standard Desktop Handset – Cisco 7841
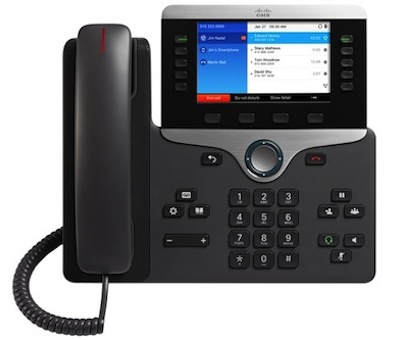
Reception Area Handset – Cisco 8851
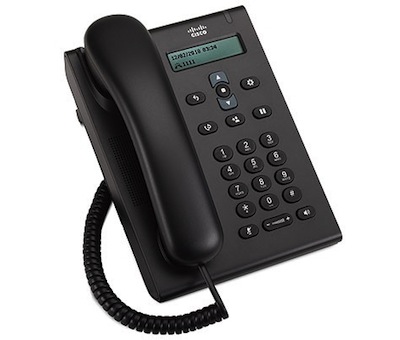
Common Area Handset – Cisco 3905
Please note that your telephone, which utilizes Boston University’s data network, connects directly into the data port at your desk. Your computer will gain network access by being plugged into your telephone.
Request or Change a Telephone Line:
Request or Change a Telephone Line – Use this form to request a new telephone line or make changes to an existing telephone line. Changes can include:
- Reassigning a phone number to a new user
- Handset configuration such as speed dial or shared lines
- Ordering equipment such as headset, handset or accessories
- Requesting a softphone (Webex) profile
Headsets – We offer wired and wireless telephone headsets to faculty and staff. Orders are processed by submitting an ISR to IS&T – Communication Services. We receive educational pricing that is often not represented on vendor websites. For questions on which headset is right for you, and/or for pricing information please contact us.
Provisioning New Phones:
- Identify Phone and MAC Address: Pick a Cisco phone and note down its MAC address. Include this MAC address in the ServiceNow ticket.
- Submit Ticket to Communication Team: Send the ServiceNow ticket containing the MAC address to the Communication team. Make sure you’re included in the ticket’s Internal Watchlist.
- Wait for Confirmation: Communication team will respond to the ticket to confirm when the phone’s MAC address has been registered.
- Coordinate Placement: Ask the requester where they want the phone to be placed, including the location and the active port number.
- Connect the Phone: Plug the Cisco phone into an active network port. It will take a few minutes for the phone to complete the registration process.
- Verify Phone Registration: Once registered, the phone’s display will show the client’s extension. Test the phone by making a call either out or in to the extension to ensure it’s working properly.
Call Forwarding:
From the portal:
- Login to the Cisco Self Care Portal, if you are not on campus, you will need to connect to the BU VPN first.
- Enter BU username/Kerberos password (do not include @bu.edu).
- Choose “Call Forwarding from the left sidebar.
- Select the checkbox next to “Forward all calls to:” and choose “Add a new number from the dropdown menu.
- Enter your phone number in the format: 1 followed by the 10-digit phone number.
- Click Save to confirm your settings
From your desk phone:
- While on-hook, press the “Fwd All” softkey.
- Dial any of the following:
- A BU 5-digit extension number
- An external phone number in the format of 1 followed by the 10-digit phone number.
- Press messages button to direct to voicemail
- To deactivate call forwarding, press the “Fwd Off” softkey.
Calling Services:
For additional information such as dialing, transfer, three-way calling, last number redial, user guides please visit the TechWeb.
Common Issues/Fixes:
Factory Reset:
- Remove power from the phone by unplugging the LAN cable.
- Wait 5 seconds.
- Press and hold the # key and plug the LAN cable back into the phone.
- When the Headset and Speaker buttons are lit, release the # key and enter the following key sequence: 123456789*0#
- The mute button light should turn on after this to indicate that the factory reset has been initialized
Stuck on “verify your network connection” or “registration in progress”:
Can be caused by:
- Phone not being on BU network
- Phone hardware issues