Using PrimoPDF
Instructions for using PrimoPDF
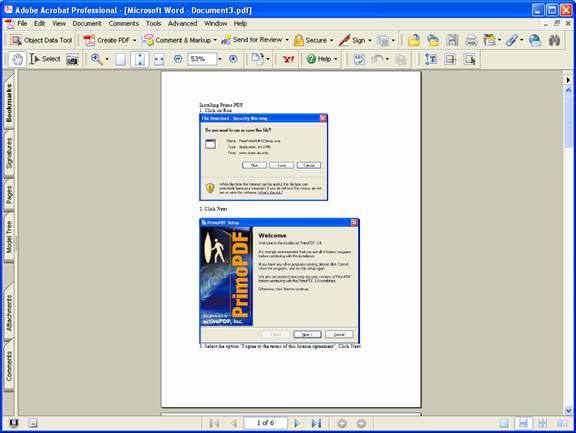
Instructions for Installing PrimoPDF
1. Download PrimoPDF. Click on the link below
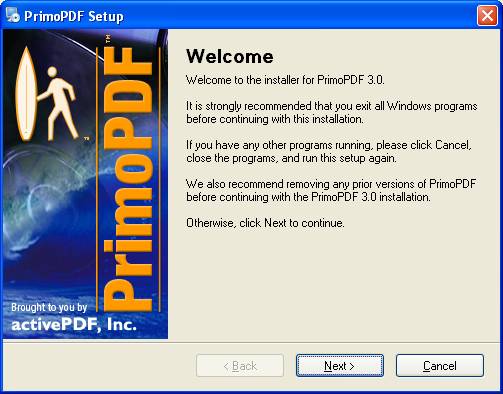
1. Click on Run
2. Click Next
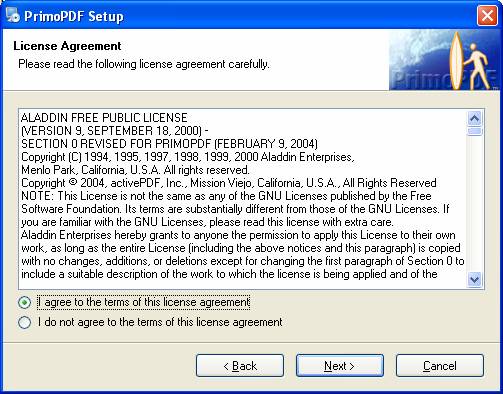
3. Select the option “I agree to the terms of this license agreement”. Click Next
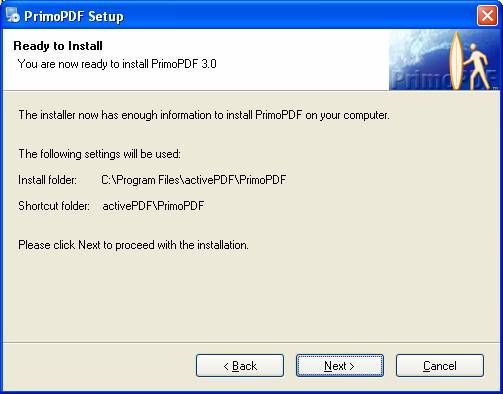
4. Click Next
5. Click Next
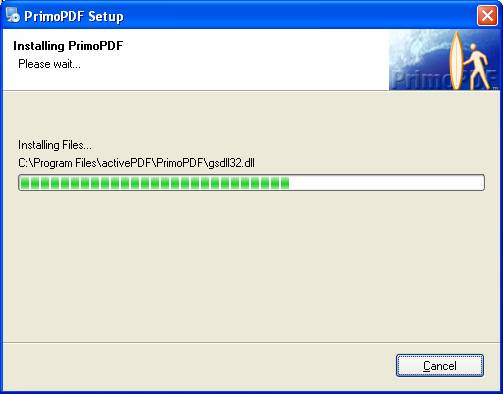
6. The program installation will run.
If you would like to read the PrimoPDF User Manual Select the option Yes and click Finish
Creating PDF files with PrimoPDF
Creating PDF files, follows the same process as printing a file. Here is an example from Microsoft Office Word 2003.
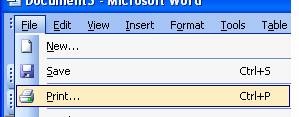
1. Select Print from the File menu
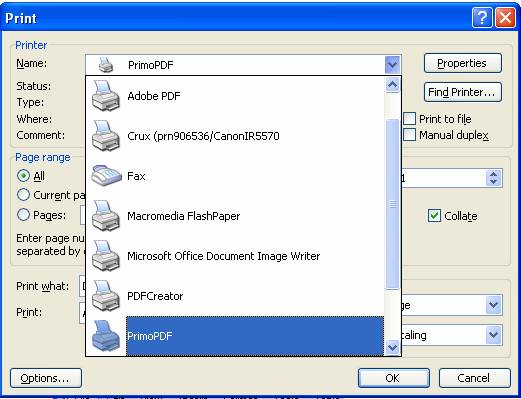
2. In the Print Name field, select the printer PrimoPDF and click OK
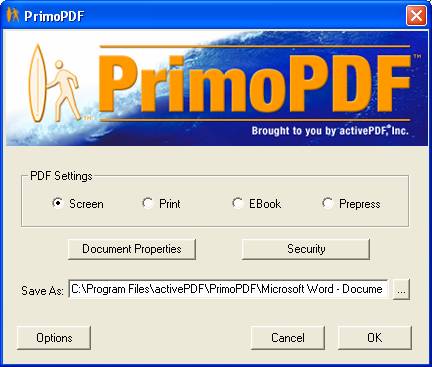
3. You will see the window below. Push the button labeled with the three dots …
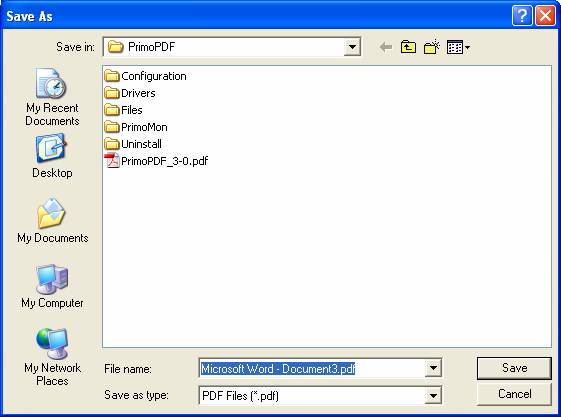
4. Select a location to save the file and click Save
5. Click Ok
6. Adobe Acrobat will open and you will see the newly creating PDF file.
FAQ’s of PrimoPDF
What is the PDF Settings?
What is the Document Properties button?
What is the Security button?
What are the System Requirements?
Who makes PrimoPDF
What is the PDF Settings?
The PDF settings (i.e. Screen, Print, etc.) determines the compression rate of the images created in the PDF file. The Prepress setting is the lowest compression rate with the highest quality pictures. The Screen setting, is the highest compression rate and with the lowest quality pictures. Print and Ebook are compression rates between Screen and Prepress.
What is the Document Properties button?
Inside the document properties button you can enter information about the PDF file. Including Title Author, Subject and Keywords
What is the security button?
Inside the security button you can set a password for the PDF file. So people opening the file must enter the password before viewing the document.
What are the System Requirements?
Windows Operating System
16.1 MB of hard drive space
Microsoft Windows XP 64-bit is not supported. To download a 64-bit version click here . After downloading the 64-bit you may follow the instructions above.